

Summary
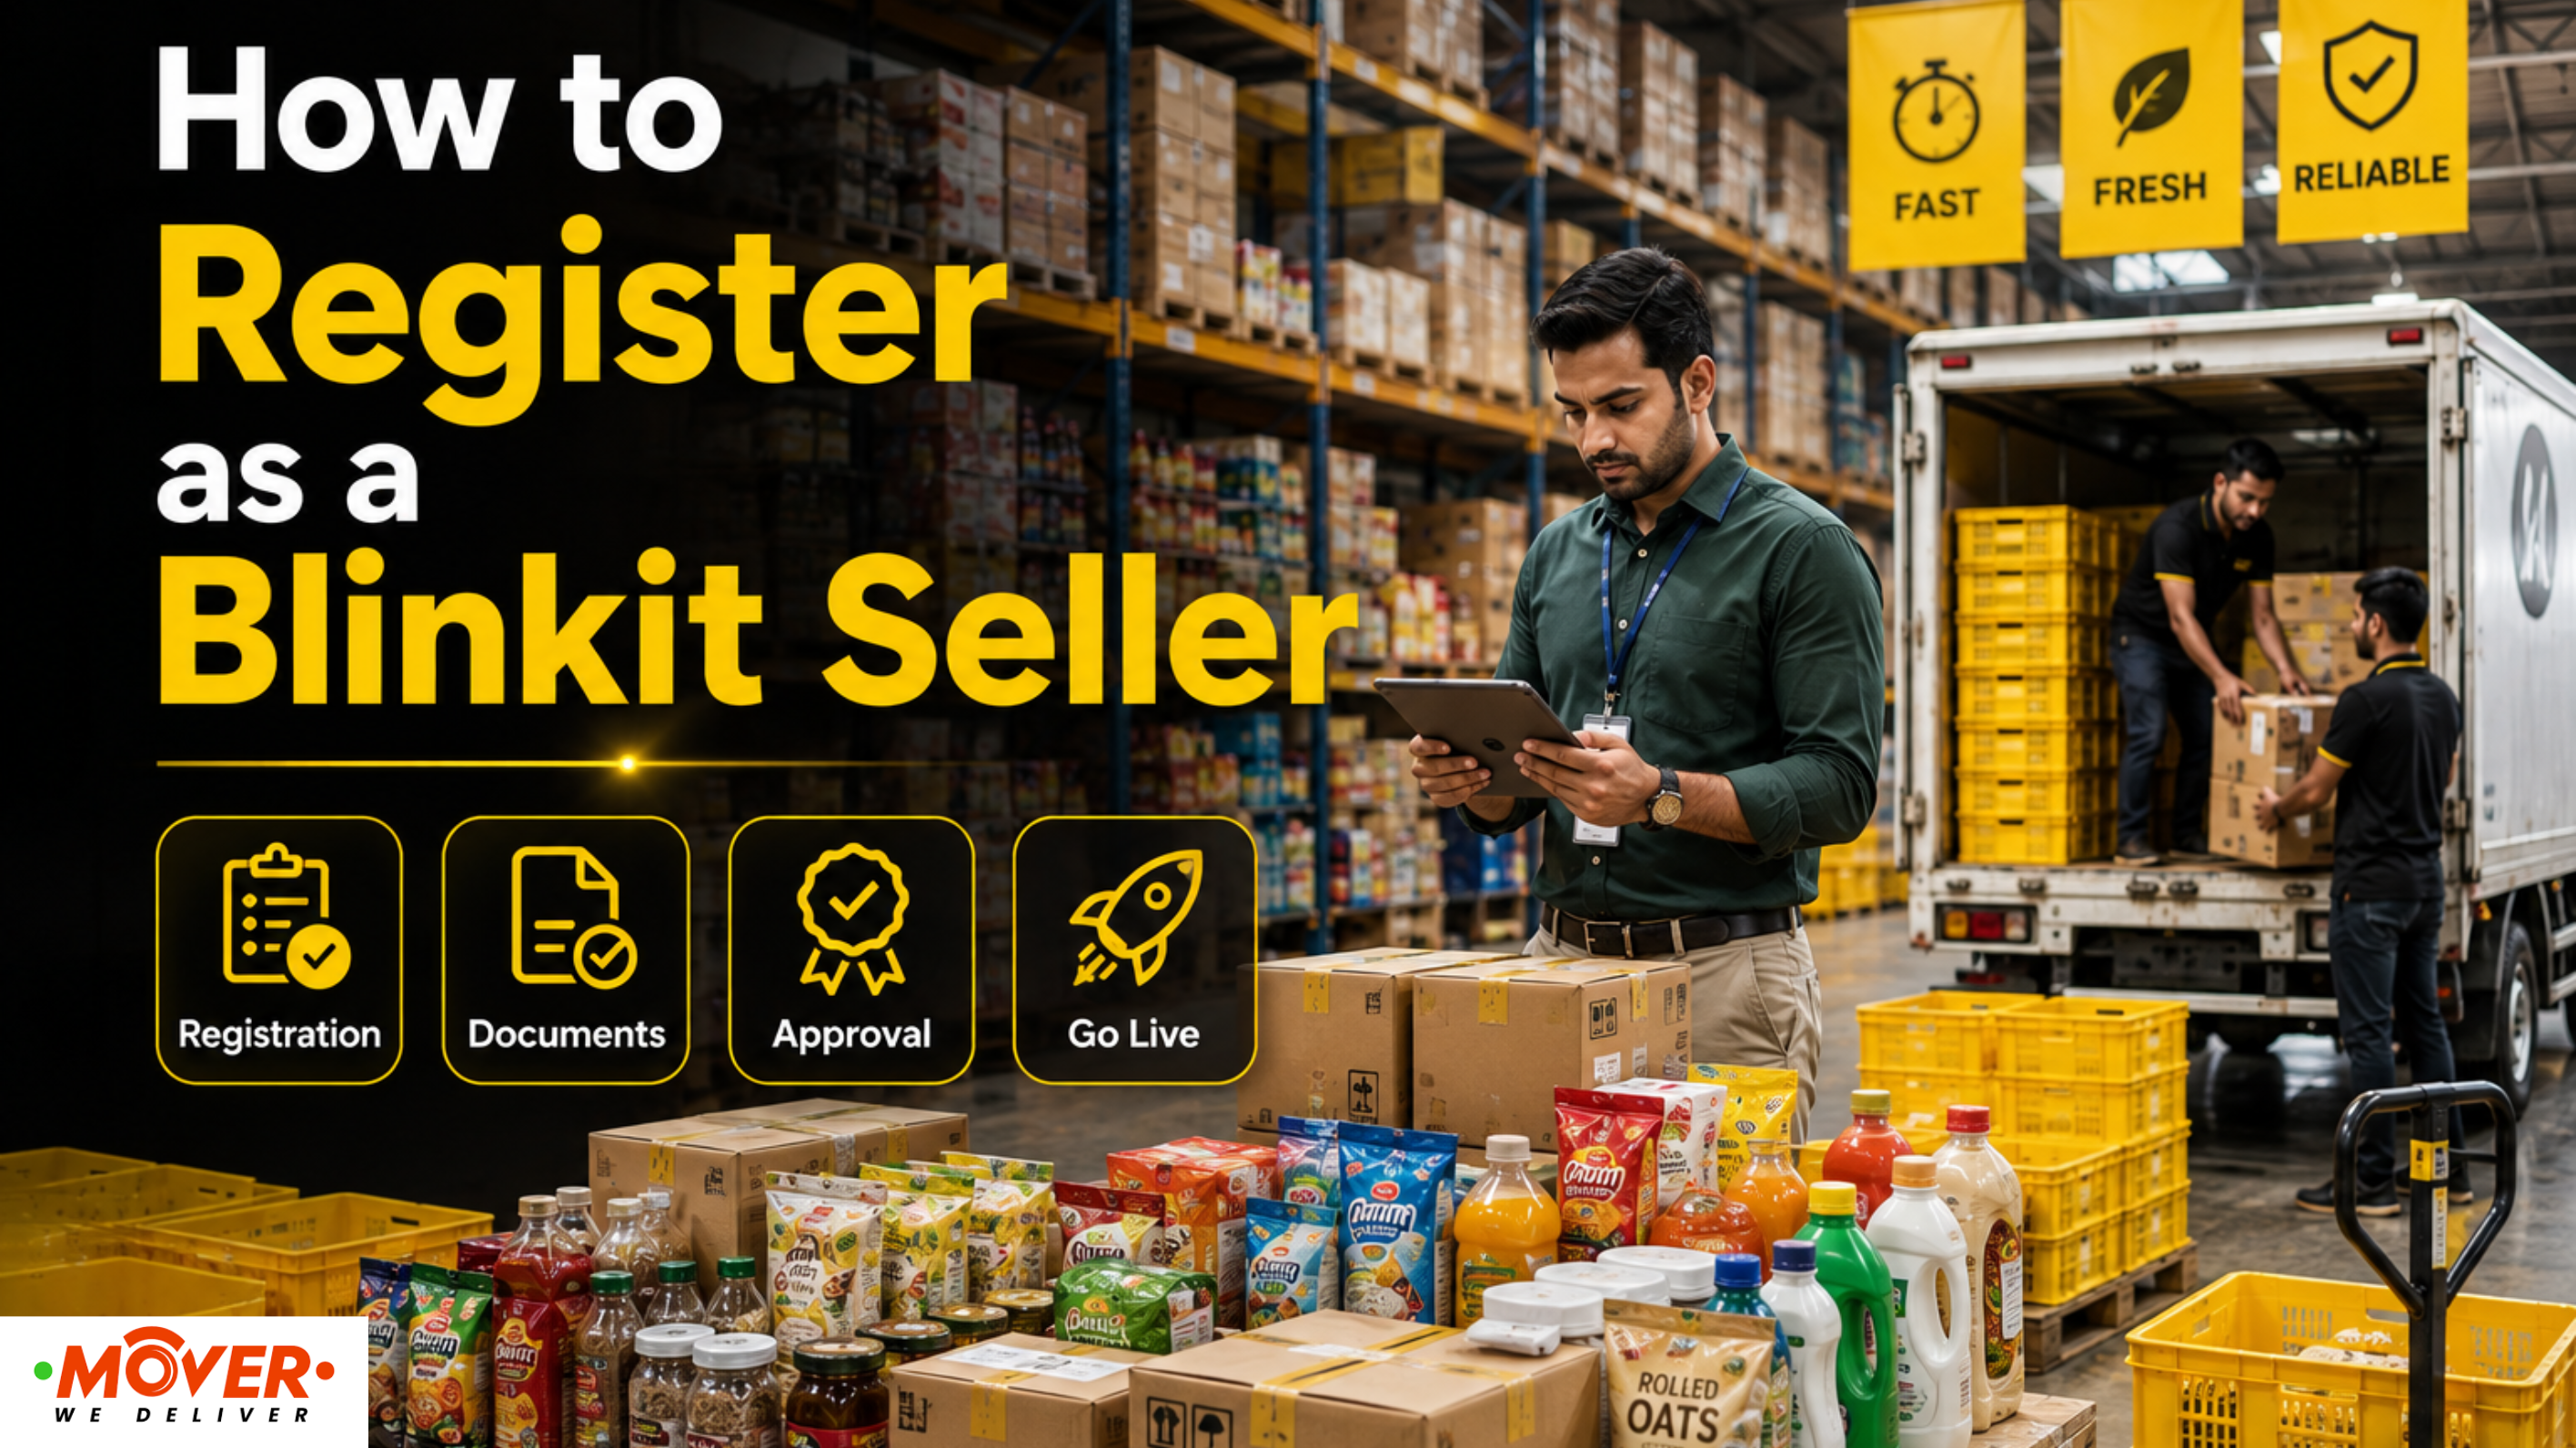
Registering as a Blinkit seller involves creating an account on the Blinkit Seller Hub, submitting your business and tax documents, and completing Blinkit's supplier onboarding process. After verifying your documents, Blinkit evaluates your product category, pricing, inventory capability, and operational readiness before approving your application. This guide explains how to register as a Blinkit seller, including the Blinkit seller registration process, eligibility criteria, Blinkit seller documents required, approval timeline, and practical tips to improve your chances of becoming an approved supplier. It also covers how to efficiently supply inventory to Blinkit's warehouses once your business goes live.
Blinkit Is Every Seller's Top Choice in the Quick Commerce Revolution
-
#1 Instant delivery service in India
-
300+ Major Cities
-
2,400+ Dark Stores Across India
-
31M+ Customers use our app monthly
-
500K+ Delivery partners delivering at your doorstep
Selling on Blinkit can help brands reach more customers, but getting approved isn't as simple as filling out an online form. Suppliers need to meet Blinkit's eligibility requirements, prepare business documents, and complete multiple onboarding stages before their products go live.
Quick commerce has transformed the way consumers purchase everyday essentials, creating new opportunities for brands to reach customers within minutes instead of days. As one of India's leading quick commerce platforms, Blinkit enables businesses to expand their reach, increase product visibility, and tap into high-frequency purchasing behaviour.
However, joining the platform involves more than simply submitting an application. Businesses must meet Blinkit's eligibility requirements, provide the necessary documentation, complete the vendor onboarding process, and demonstrate their ability to maintain consistent inventory across its fulfilment network.
Understanding the Blinkit seller registration process before applying can help you avoid common mistakes and prepare your business for a smoother onboarding experience. From GST registration and product catalogues to category approvals, commercial discussions, and inventory planning, every stage plays an important role in determining whether your application is approved.
This guide explains how to register as a Blinkit seller, covering the eligibility criteria, Blinkit seller documents required, step-by-step onboarding process, approval timeline, common reasons applications are rejected, and practical tips to improve your chances of success. You'll also learn how to efficiently transport inventory to Blinkit's warehouses once your products are approved, helping your business prepare for long-term growth on the platform.
Why Sell on Blinkit Quick Commerce?
Consumer shopping habits have shifted towards faster deliveries, making quick commerce an important sales channel for brands across multiple categories. From groceries and personal care products to home essentials and packaged foods, customers increasingly prefer platforms that deliver products within minutes. For businesses planning to sell on Blinkit quick commerce, the platform offers access to a large customer base and an efficient fulfilment network designed for rapid deliveries.
Selling on Blinkit offers several benefits, including:
-
Reach customers faster through Blinkit's hyperlocal warehouse network.
-
Increase repeat purchases for frequently used products such as groceries, beverages, personal care, and household essentials.
-
Expand your omnichannel strategy by complementing existing sales channels like your own website, Amazon, or Flipkart.
-
Improve product visibility by making your products available closer to customers through Blinkit's warehouse network.
-
Access growing quick commerce demand across multiple cities and product categories.
As Blinkit continues expanding its operations and product assortment, becoming an approved supplier can help brands strengthen their presence in India's rapidly growing quick commerce ecosystem.
Who Can Register as a Blinkit Seller?
Blinkit follows a B2B2C (Business-to-Business-to-Consumer) supplier model, where brands and suppliers provide inventory to Blinkit's warehouse network, and Blinkit manages order fulfilment and last-mile delivery to customers. Instead of allowing individual sellers to list products directly, the platform partners with businesses that can consistently supply quality products and maintain inventory availability.
Businesses that can become a Blinkit supplier include:
-
FMCG brands and manufacturers selling packaged foods, beverages, personal care products, cleaning supplies, and household essentials.
-
D2C brands offering products across categories such as beauty, wellness, baby care, pet care, home essentials, and packaged foods.
-
Authorised distributors and wholesalers with valid brand authorisation and the capability to supply inventory consistently.
-
Fresh food, dairy, bakery, and frozen food suppliers that meet Blinkit's quality, packaging, and food safety requirements.
-
Health, nutrition, and lifestyle brands offering products suitable for quick commerce and frequent consumer purchases.
Before starting the Blinkit seller registration process, ensure your business has a valid GST registration and any category-specific licences required for the products you plan to sell. Having complete documentation and a reliable supply chain can help streamline the onboarding process.
Eligibility Criteria for Blinkit Seller Registration
Before applying, make sure your business meets Blinkit's basic supplier requirements. While specific criteria may vary depending on your product category, most suppliers are expected to meet the following eligibility standards.
|
Eligibility Criteria |
Why It Matters |
|
GST Registration |
Required for supplier onboarding and tax compliance. |
|
Registered Business Entity |
Businesses should operate as a proprietorship, partnership, LLP, or company with valid registration documents. |
|
Product Quality |
Products should meet Blinkit's quality standards and customer expectations. |
|
Packaging Standards |
Products must be securely packaged and labelled for storage and fulfilment. |
|
Barcode (EAN/UPC) |
Required for inventory management and product catalogue mapping. |
|
Reliable Supply Capability |
Suppliers should maintain consistent inventory and replenish stock regularly to support Blinkit's warehouse operations. |
Note: Meeting these eligibility criteria does not guarantee approval. Blinkit also evaluates product demand, pricing competitiveness, operational readiness, and category fit during the vendor onboarding process.
Blinkit Seller Documents Required
Preparing your documents in advance can help reduce delays during the Blinkit seller registration process. Blinkit verifies your business identity, tax registrations, banking information, and product details before approving new suppliers. Keeping all documents accurate and up to date can make the onboarding process smoother.
Mandatory Documents
|
Document |
Purpose |
|
GST Registration Certificate |
Confirms your business is registered for GST. |
|
PAN Card |
Verifies the business or authorised signatory. |
|
Business Registration Proof |
Proprietorship, Partnership, LLP, or Company Incorporation Certificate. |
|
Bank Account Details & Cancelled Cheque |
Used for supplier payouts and should match the registered business name. |
|
Business Address Proof |
Confirms your registered business address. |
Category-Specific Documents
|
Document |
Applicable For |
|
FSSAI Licence |
Mandatory for food, grocery, dairy, beverages, and other consumable products. |
|
Brand Authorisation Letter or Trademark Certificate |
Required for distributors, resellers, or authorised brand partners. |
|
Product Catalogue |
Should include SKU details, EAN/barcodes, MRP, dimensions, weight, shelf life (where applicable), and product images. |
|
Quality or Compliance Certifications |
Required for regulated product categories, where applicable. |
Pro Tip: Before uploading your documents, ensure the business name is consistent across your GST registration, PAN card, bank account, and registration documents. Mismatched details are one of the most common reasons for delays during supplier verification.
Step-by-Step Blinkit Seller Registration Process
Once you've gathered the required documents and confirmed your business meets Blinkit's eligibility criteria, you can begin the Blinkit seller registration process. While the exact onboarding journey may vary depending on your product category and business profile, the following steps outline how most businesses become a Blinkit supplier.
[Image credit - Blinkit]
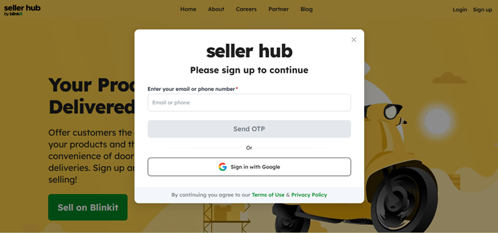
Step 1: Create an Account on the Blinkit Seller Hub
Visit the official Blinkit Seller Hub and register using your mobile number or email address. After verifying your account through an OTP, you can begin the supplier onboarding process by creating your business profile.
Step 2: Submit Your Business Information
Provide your legal business name, GSTIN, registered business address, contact details, and the product categories you intend to sell. Ensure the information matches your official business documents to avoid delays during verification.
Step 3: Upload the Required Documents
Next, upload all mandatory documents, including your GST registration certificate, PAN card, bank account details, business registration proof, and category-specific licences such as an FSSAI licence for food and beverage products. Incomplete or incorrect documentation can delay the onboarding process.
Step 4: Category Manager Review
Once your application is submitted, Blinkit assigns a Category Manager (CM) to review your business. The Category Manager evaluates your product assortment, pricing, category demand, packaging standards, inventory capability, and overall brand fit. They may also request additional information before moving your application to the next stage.
Step 5: Commercial Discussion
If your products meet Blinkit's requirements, the next step involves discussing commercial terms. This may include pricing expectations, commercial margins, payment cycles, supply commitments, and other operational agreements before onboarding is approved.
Step 6: Catalogue & SKU Approval
After commercial discussions, Blinkit's team reviews and approves your product catalogue. During this stage, product images, descriptions, SKUs, EAN/barcodes, pricing, and category mapping are verified to ensure your listings meet platform requirements.
Step 7: Update Your GST APOB
One unique requirement during Blinkit vendor onboarding is updating your GST Additional Place of Business (APOB). Depending on your onboarding arrangement, Blinkit may require suppliers to add the designated warehouse location as an Additional Place of Business on the GST portal before inventory can be dispatched. This helps ensure inventory movement complies with applicable GST regulations.
Step 8: Inventory Inwarding
Once the required approvals are complete, you'll receive instructions to ship your inventory to Blinkit's assigned warehouse. Products undergo inwarding, quantity verification, and quality checks before being added to Blinkit's inventory system.
Step 9: Go Live on Blinkit
After your inventory is successfully inwarded and approved, your products become available for customers to purchase through the Blinkit app. From this point onward, maintaining consistent inventory and replenishing stock on time becomes essential to keep your products available and maximise sales.
How Long Does Blinkit Seller Approval Take?
The Blinkit seller registration process typically takes 7 to 21 days, although the exact timeline depends on your product category, document accuracy, commercial discussions, and inventory readiness. While some businesses complete onboarding faster, others may require additional reviews before their products go live.
A typical onboarding journey includes the following stages:
|
Onboarding Stage |
Estimated Timeline |
What's Involved |
|
Application & Category Review |
2–5 days |
Blinkit's Category Manager reviews your business profile, product category, pricing, and brand fit. |
|
Document Verification |
2–5 business days |
Verification of GST, PAN, bank details, FSSAI licence (if applicable), and other business documents. |
|
Commercial Discussions & Catalogue Approval |
2–5 days |
Finalising commercial terms, reviewing product listings, SKU mapping, pricing, and catalogue information. |
|
GST APOB Update & Inventory Inwarding |
2–6 days |
Completing GST APOB formalities (where applicable), dispatching inventory, warehouse verification, and quality checks before products go live. |
Approval timelines may vary depending on product category, seasonal demand, and the completeness of your application. Businesses that submit accurate documentation and maintain clear communication with their assigned Category Manager often experience a smoother onboarding process.
Blinkit Vendor Onboarding: Commission & Costs
Understanding Blinkit's commercial model is just as important as completing the registration process. Unlike marketplaces that charge a fixed seller registration fee, Blinkit primarily works on a commercial margin model, where margins and business terms are negotiated during the vendor onboarding process. Blinkit does not publicly disclose a fixed commission structure. Commercial terms vary by supplier, product category, and negotiated agreement.
The exact commission or commercial margin depends on several factors, including your product category, pricing strategy, order volumes, and commercial discussions with your assigned Category Manager. Since these terms vary across categories and suppliers, there is no standard commission structure applicable to every business.
Besides the agreed commercial margin, suppliers should also plan for the following operational costs:
-
Product packaging and labelling
-
Transportation of inventory to Blinkit's warehouses
-
Inventory replenishment and warehousing
-
Promotional or marketing participation (where applicable)
-
Category-specific compliance and certification costs
Transportation and inventory management can significantly impact your overall profitability, especially when replenishing stock across multiple warehouses. Reviewing ways to reduce logistics costs can help businesses improve operational efficiency while maintaining healthy margins.
Common Reasons Blinkit Seller Applications Get Rejected
Meeting Blinkit's basic eligibility requirements doesn't automatically guarantee approval. During the Blinkit vendor onboarding process, the platform evaluates your documents, product quality, commercial viability, and operational readiness before approving new suppliers. Understanding the common reasons applications are delayed or rejected can help you submit a stronger application.
|
Reason |
Why It Can Lead to Rejection |
|
Missing or Invalid GST Registration |
A valid GST registration is mandatory. Incorrect or incomplete tax details can prevent your application from moving forward. |
|
Incomplete or Incorrect Documents |
Missing licences, mismatched business information, or incomplete bank details may delay verification or result in rejection. |
|
Poor Product Catalogue |
Low-quality product images, incomplete SKU information, incorrect barcodes, or inaccurate product details can affect catalogue approval. |
|
Non-Competitive Pricing |
Products that are significantly overpriced compared to similar brands may not meet Blinkit's commercial expectations. |
|
Low Inventory or Supply Capacity |
Blinkit prefers suppliers who can replenish inventory consistently and meet demand without frequent stock-outs. |
|
Products with Limited Category Demand |
Even if your business is eligible, Blinkit may prioritise products that align with customer demand and category growth. |
|
Packaging or Compliance Issues |
Products that don't meet packaging, labelling, or category-specific compliance requirements may require revisions before approval. |
Tips to Increase Your Chances of Getting Approved
Submitting a complete and well-prepared application can improve your chances of a smooth onboarding experience. Before applying, keep these best practices in mind:
-
Prepare a professional product catalogue with clear images, accurate SKU details, pricing, and EAN/barcodes.
-
Price your products competitively while considering Blinkit's commercial margins and operational costs.
-
Maintain sufficient inventory to support regular replenishment and avoid stock shortages.
-
Follow Blinkit's packaging standards to ensure products are suitable for warehousing and quick commerce deliveries.
-
Verify all business documents and ensure details match across GST, PAN, bank records, and other registrations.
-
Obtain all required licences such as FSSAI for food and beverage products before applying.
-
Respond promptly to requests from your assigned Category Manager during the onboarding process.
-
Plan your inventory replenishment in advance so you're ready to supply stock as soon as your products are approved.
Once You're Approved: Supplying Inventory to Blinkit's Warehouses
Getting approved as a Blinkit seller is only the beginning. Once your products go live, you'll need to replenish inventory at Blinkit's designated warehouses on time to keep your products available for customers. Delays in restocking can result in stock-outs, missed sales opportunities, and reduced product visibility on the platform.
As your business grows, managing inventory movement efficiently becomes increasingly important. Regular deliveries to one or multiple warehouses require reliable transportation, especially for FMCG products, packaged foods, beverages, personal care items, and other high-demand categories.
Businesses looking for a more efficient way to transport inventory can use MOVER's online truck booking platform, which allows businesses to book commercial vehicles based on shipment size. Whether you're transporting cartons to a single warehouse or replenishing inventory across multiple locations, features such as transparent pricing, live tracking, and Proof of Delivery (POD) help ensure stock reaches Blinkit's warehouses safely and on schedule.
Conclusion
Becoming a Blinkit seller can help brands expand their reach, increase product visibility, and tap into India's growing quick commerce market. By understanding the Blinkit seller registration process, preparing the required documents, and meeting the platform's eligibility requirements, businesses can make the onboarding journey smoother and improve their chances of approval.
After your products go live, success depends on more than just registration. Maintaining competitive pricing, consistent inventory, and timely replenishment will help ensure your products remain available and continue performing well on the platform.
With the right preparation and a reliable inventory strategy, businesses can complete Blinkit's onboarding process more efficiently and build a strong presence in India's growing quick commerce market.
FAQs
1. How do I register as a Blinkit seller?
You can apply through the official Blinkit Seller Hub by creating an account, submitting your business details, uploading the required documents, and completing Blinkit's supplier onboarding process before your products go live.
2. What documents are required for Blinkit seller registration?
Most suppliers need a GST registration certificate, PAN card, business registration proof, bank account details, address proof, and category-specific documents such as an FSSAI licence for food products or a brand authorisation letter for distributors.
3. How long does Blinkit seller approval take?
The onboarding process typically takes 7 to 21 days, depending on document verification, product category, commercial discussions, and inventory readiness.
4. Can individuals sell on Blinkit?
No. Blinkit primarily partners with registered businesses such as proprietorships, partnerships, LLPs, private limited companies, manufacturers, brands, and authorised distributors.
5. Does Blinkit charge a seller registration fee?
Blinkit generally follows a commercial margin model rather than charging a fixed seller registration fee. Commercial terms are discussed during the vendor onboarding process and vary by product category and business profile.
6. How do I supply inventory after becoming a Blinkit seller?
Once approved, you'll receive instructions to dispatch inventory to Blinkit's designated warehouses. Maintaining consistent stock levels and replenishing inventory on time is essential to keep your products available for customers.
7. Can D2C brands sell on Blinkit?
Yes. Blinkit partners with many D2C brands across categories such as groceries, beauty, personal care, wellness, baby care, and household essentials, provided they meet the platform's onboarding and compliance requirements.
8. Is there an app to manage regular inventory deliveries?
After onboarding, businesses that frequently replenish inventory can simplify transportation using MOVER's online truck booking app, making it easier to schedule commercial vehicles, monitor deliveries, and manage warehouse replenishment from one place.
9. Which is the best alternative to Blinkit?
Zepto is the top Blinkit alternative for pure speed (10-minute delivery), while Swiggy Instamart wins if you want it bundled with food delivery. BigBasket (BB Now) and Flipkart Minutes are solid runners-up.