
Summary
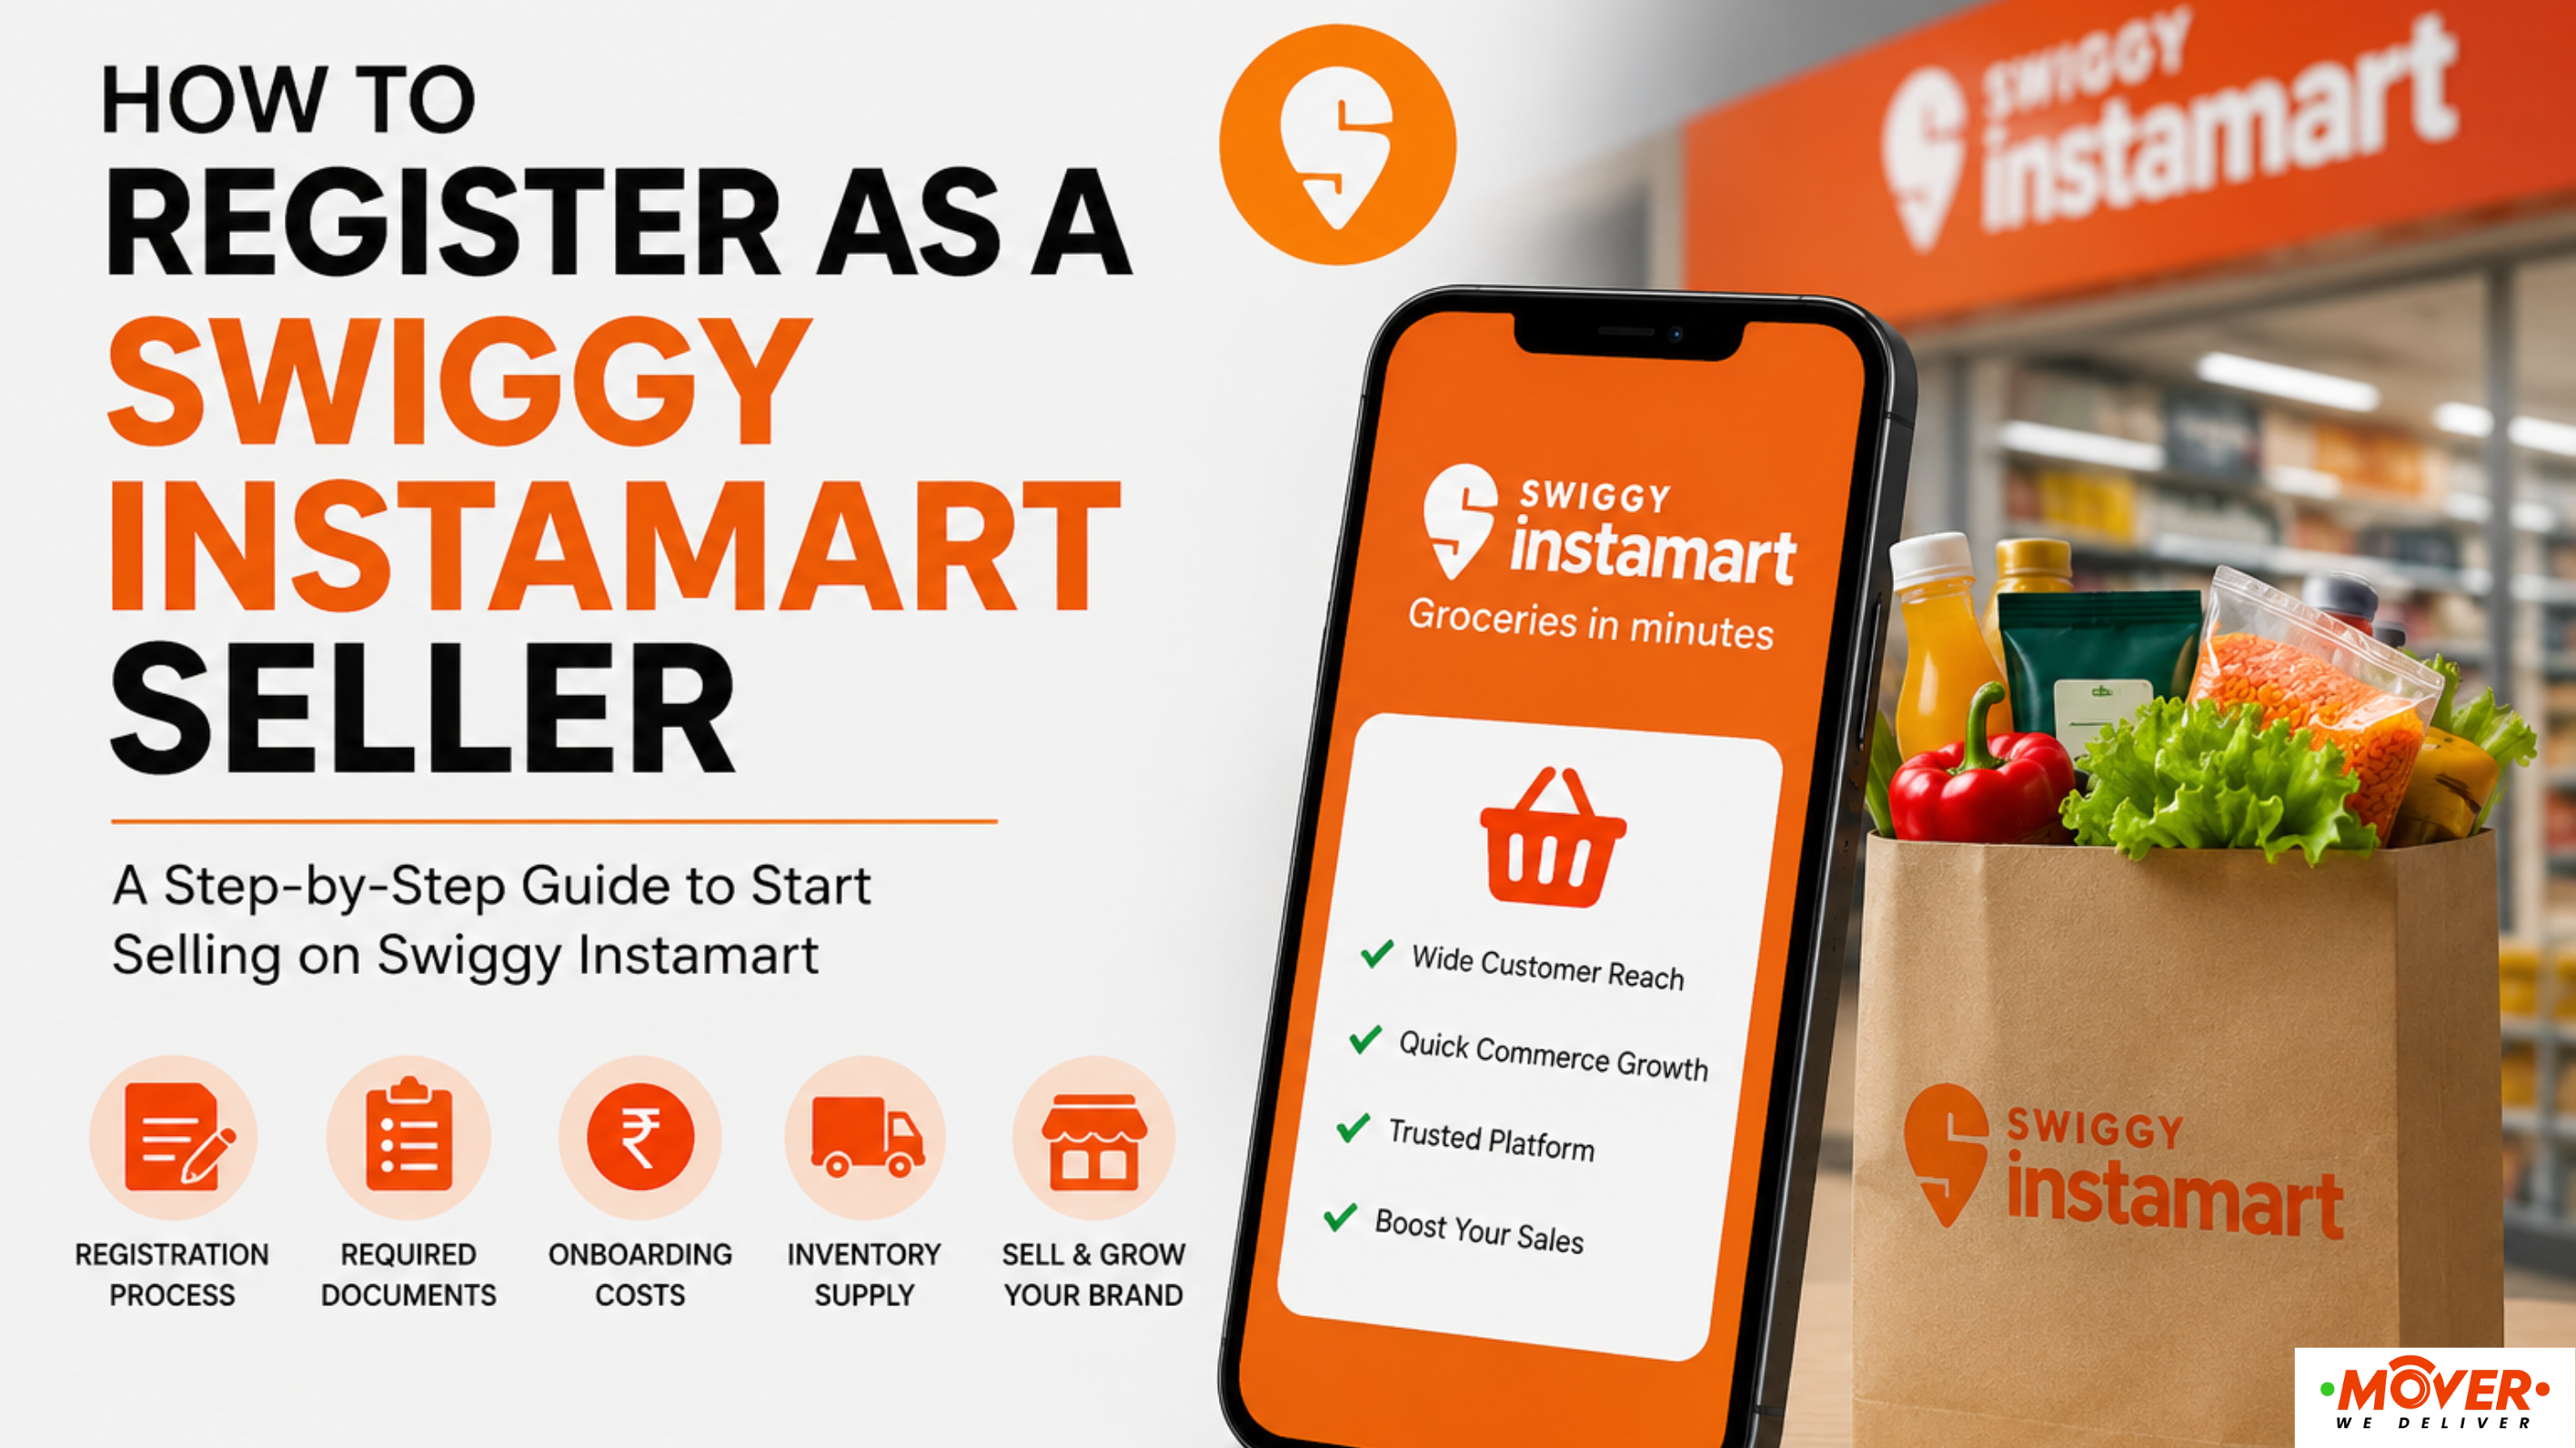
Getting started with Swiggy Instamart begins with submitting the New Brand Onboarding form with your business, product, sales, and SKU details. Brands that meet the platform's requirements can then move through screening, Category Manager discussions, commercial onboarding, catalogue verification, and inventory allocation. This guide covers the Swiggy Instamart seller registration process, eligibility requirements, documents, onboarding timeline, costs, and key factors that can affect approval. It also covers the steps involved in supplying your products to designated Instamart dark stores after onboarding.
Swiggy Instamart at a Glance
-
500+ Stores Across India
-
30+ Cities
-
1000+ Brands
Are you trying to reach a wider audience for your business? Indian quick commerce has reached around ₹11,000 crore in January 2026, which is increasing day by day. Swiggy Instamart is one of the major players in this sector. It not only helps you to acquire more customers but also gain retail presence in every location.
Swiggy Instamart has become an important channel of quick commerce when it comes to selling groceries, packed food, beverages or any product. So, why not register as a Swiggy Instamart seller in 2026?
But you must be wondering how to register as a Swiggy Instamart seller. The steps include more than just creating a seller account. You need to meet various requirements, including document requirements.
In this guide covers the Swiggy Instamart seller registration process, eligibility requirements, Swiggy Instamart seller documents required, vendor onboarding, approval timelines, common rejection reasons, and what to do once your products are approved.
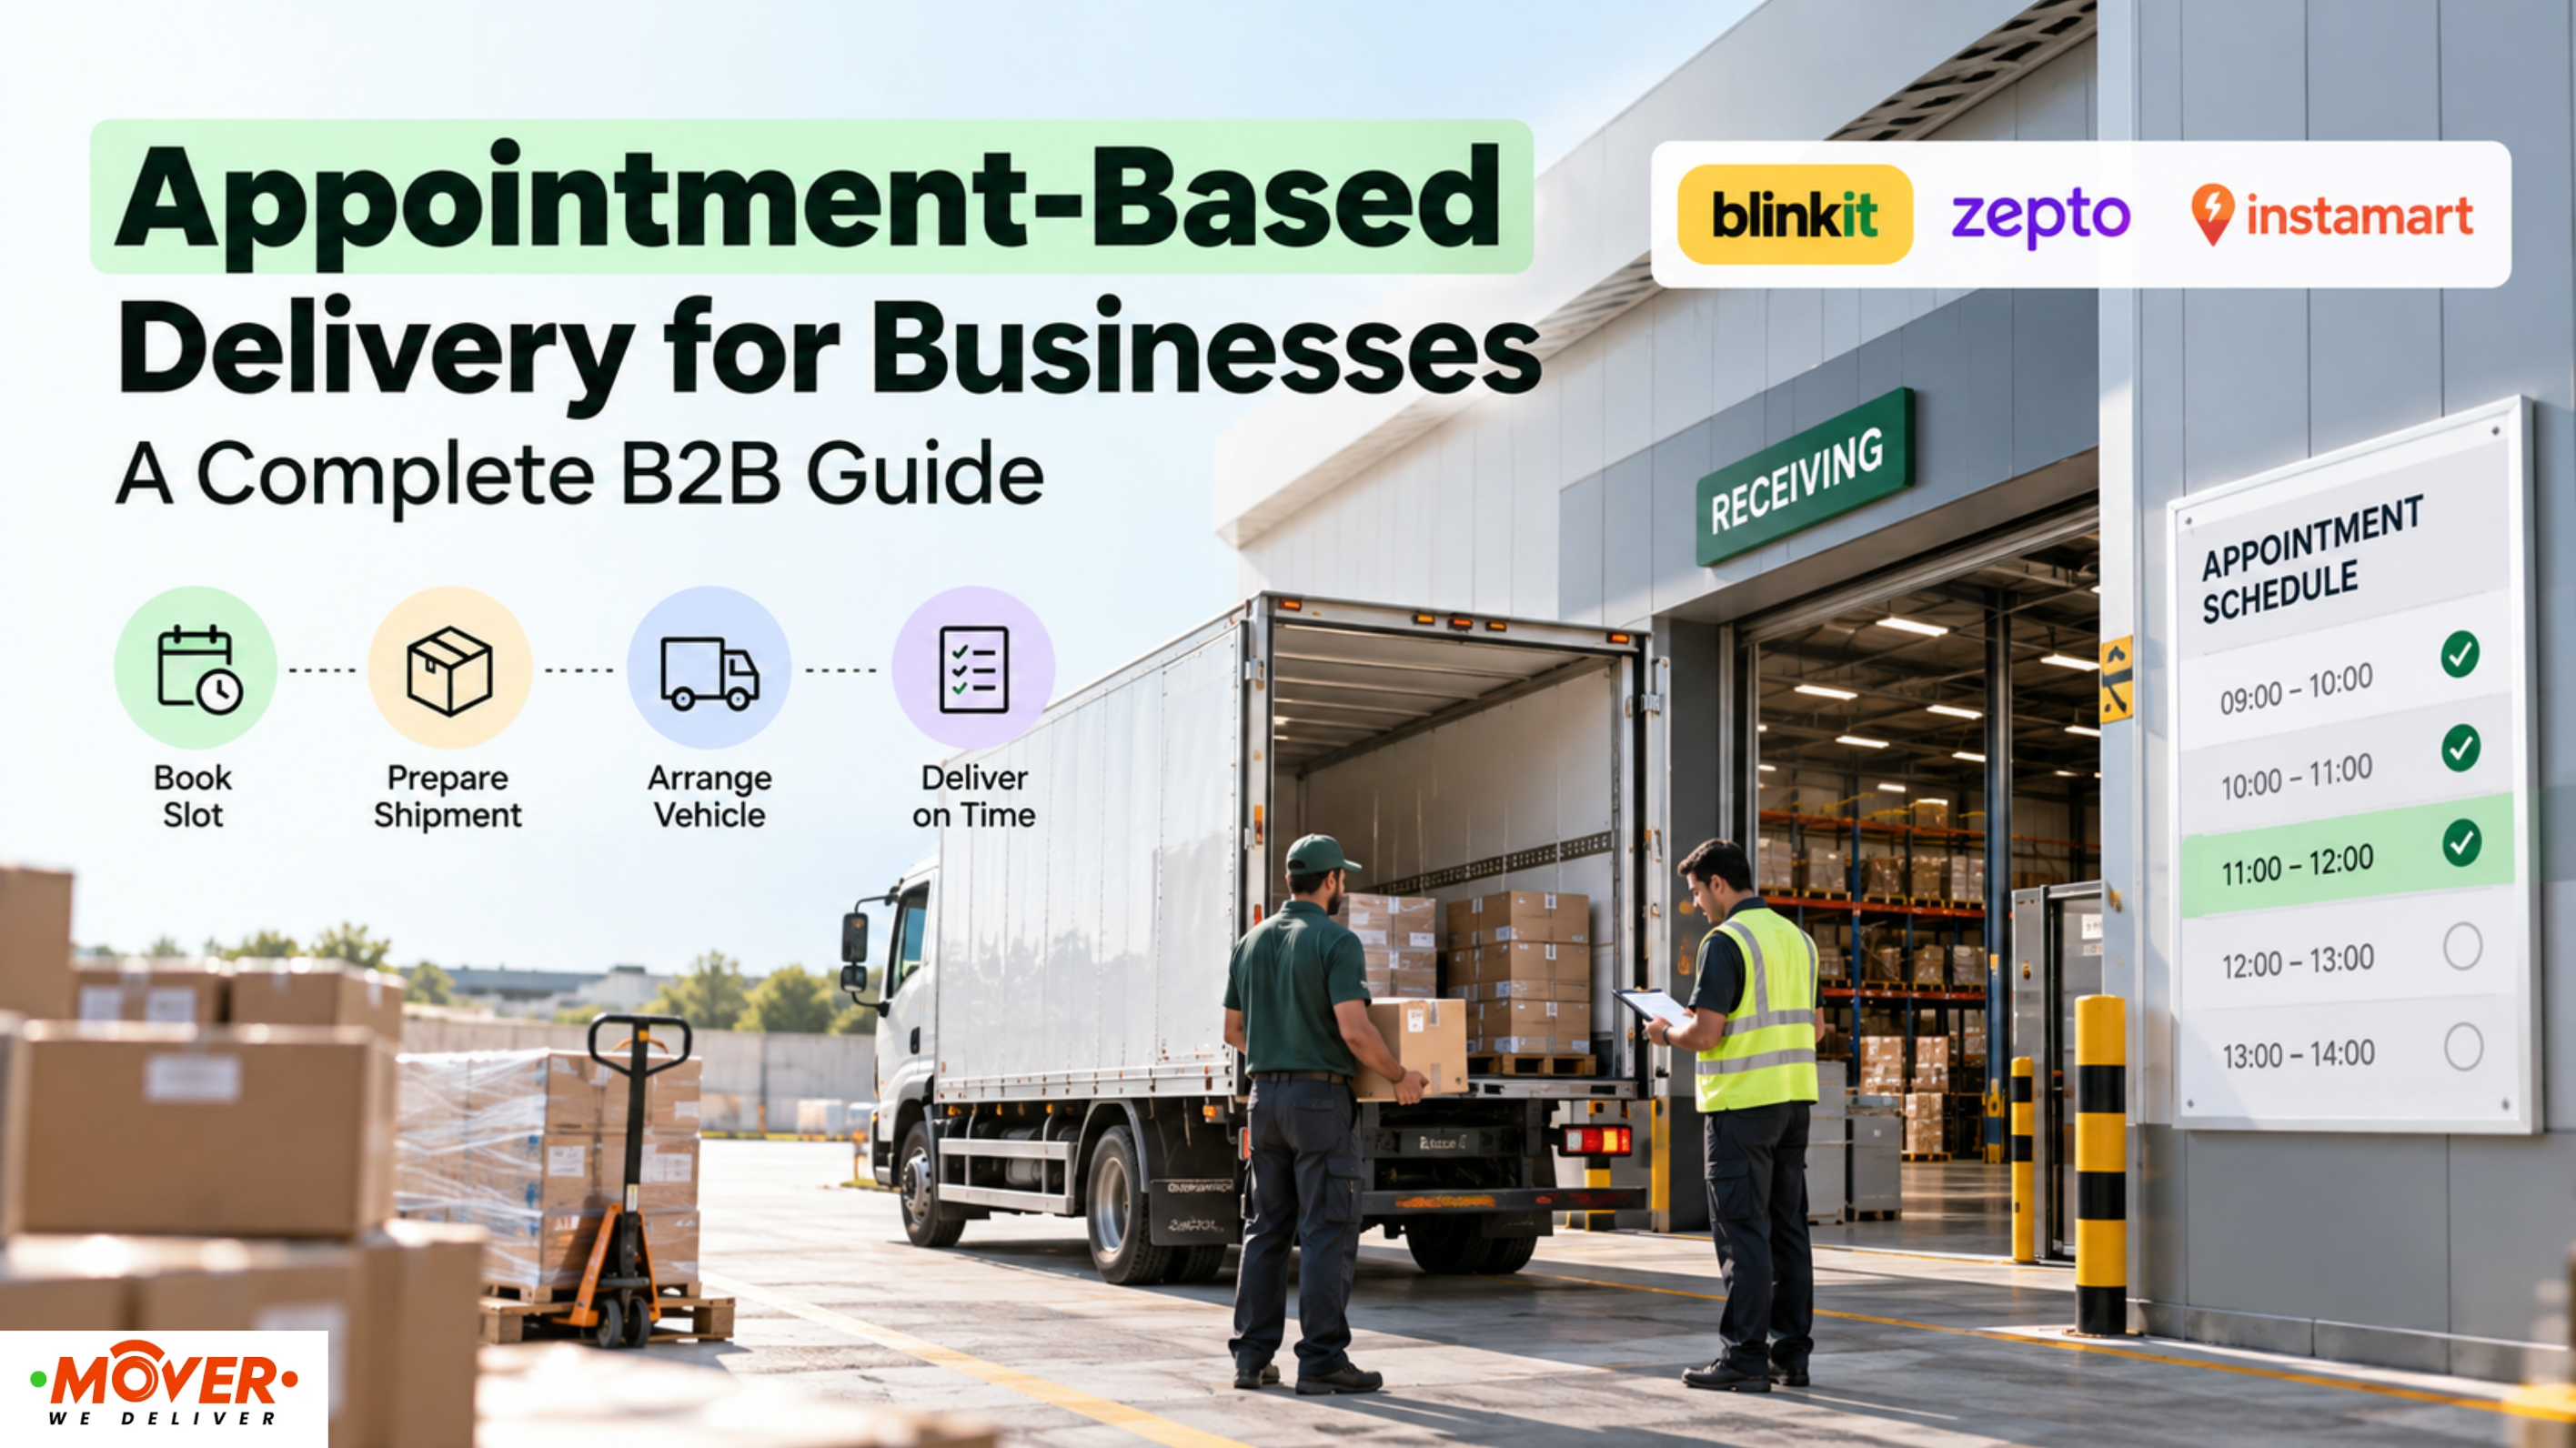
We'll also cover the logistics side of the process, including how to move your inventory to Instamart's designated dark stores once you're ready to go live.
Why Sell on Swiggy Instamart?
You must be wondering why choose Swiggy Instamart for your brand. It has 20 - 25% of the market, so more people can discover and repeat your product. Here are a few more reasons to sell on Swiggy Instamart quick commerce:
-
Swiggy Instamart will provide more visibility to your brand among customers.
-
It increases the chances of repeat orders.
-
Products will reach customers at the earliest, as inventory is stored near customers.
-
It can complement your existing website and other marketplace presence, like Amazon, Flipkart, and more.
-
Instamart makes it easy for brands to test their product’s performance in a high-visibility environment.
Who Can Register as a Swiggy Instamart Seller?
Once you understand the importance of Swiggy Instamart, you can understand how you can register as a Swiggy Instamart Seller. It primarily works with brands and suppliers that can provide products consistently across its fulfilment network. This makes the platform relevant not only for established FMCG companies but also for D2C brands, manufacturers, and authorised distributors with products suited to quick-commerce demand.
Businesses that may apply to become a Swiggy Instamart supplier include:
-
FMCG brands and manufacturers selling packaged foods, beverages, personal care products, household essentials, and other everyday-use products.
-
D2C brands looking to add quick commerce as another sales channel alongside their website and other marketplaces.
-
Authorised distributors and wholesalers supplying established brands with the required authorisation and documentation.
-
Food and beverage businesses offering packaged or consumable products that meet applicable food-safety requirements.
-
Personal care, beauty, wellness, and household brands with products suited to frequent or convenience-led purchases.
-
Other consumer-product businesses whose products fit Instamart's category requirements and can be supplied consistently.
Your eligibility doesn’t guarantee that your product will be listed on the platform. There may be various factors which can influence the decision, which we will discuss below. But brands want to sell on Swiggy Instamart quick commerce, so make sure they have supply capability and fit in the product category before you fill out the registration.
Eligibility Criteria for Swiggy Instamart Seller Registration
Before starting your application, make sure your business can meet the basic requirements for supplying products through Instamart. Eligibility of the product varies depending on its category.
Here are a few eligibility criteria you need to meet for Swiggy Instamart seller registration:
|
Eligibility Criteria |
What You Need |
|
GST Registration |
A valid GST registration with business details and applicable HSN codes. |
|
Registered Business |
A legally registered business with verifiable business and address details. |
|
Product Category |
Products should fit Instamart's available categories and customer demand. |
|
Product Quality |
Products must meet applicable quality, safety, and regulatory requirements. |
|
Packaging & Labelling |
Products should have appropriate retail packaging, labelling, MRP, and other required information. |
|
Barcodes |
EAN or other applicable product barcodes should be available for SKU identification and inventory management. |
|
Supply Capability |
You should be able to maintain sufficient stock and replenish inventory consistently. |
|
Category Compliance |
Additional licences or certifications may be required depending on the products you sell. |
Documents Required for Swiggy Instamart Seller
Once you are clear on the eligibility criteria, you can start collecting all the documents required to become a Swiggy Instamart seller. However, these documents may vary from product to product.
Keeping the following documents handy makes the process much easier and smoother.
|
Document / Information |
Why It May Be Required |
|
GST Registration Certificate |
Verifies your GST registration and business tax details. Applicable HSN codes should be correctly reflected. |
|
PAN Card |
Used to verify the business or proprietor's tax identity. |
|
FSSAI Licence |
Required for businesses selling food, beverages, and other applicable consumable products. |
|
Bank Details |
Used for payment and settlement setup. A current account or valid business banking proof may be requested. |
|
Business Address Proof |
Helps verify the registered or operating address of the business. |
|
Product Catalogue |
Provides details such as product name, MRP, pack size, weight, category, and other SKU information. |
|
EAN / Product Barcodes |
Used to identify individual products and support catalogue and inventory management. |
|
Brand Authorisation |
May be required if you are a distributor or supplier selling products owned by another brand. |
|
Category-Specific Licences |
Additional approvals or certifications may be needed for certain regulated product categories. |
Documents Required for Different Product Categories
Not every seller will need every document listed above. Your requirements can change depending on what you plan to sell on Instamart.
For example:
-
Food and beverages: FSSAI registration or licence and appropriate product labelling.
-
Packaged consumer goods: GST, PAN, product catalogue, barcodes, and compliant packaging.
-
Personal care and beauty products: Category-specific compliance documents may apply depending on the products.
-
Household products: Product and business documentation along with any applicable regulatory information.
-
Distributor-supplied brands: Brand authorisation or proof of an authorised supply relationship may be required.
Keep Your Information Consistent
One of the easiest ways to avoid unnecessary delays is to check that your business information matches across documents. Your business name, GST details, address, bank information, and product details should be accurate and consistent.
Also review your product catalogue before submitting it. Make sure the MRP, pack size, weight, EAN/barcode, product category, and other SKU information are correct.
Step-by-Step Swiggy Instamart Seller Registration Process
Now you must be wondering, what are the steps to register as a Swiggy Instamart Seller? Here are the steps to complete the onboarding process; these steps may vary as per category:
Step 1: Submit Your Seller Application
You can begin the onboarding process through their website or email at instamart-brands@swiggy.in.
Step 2: Find the form
Once you go to the website, you will scroll down to see an option: “Sell your products on Instamart”. You can click on the “Get Started” option, which will take you to fill out the form. You can submit some of the brand and product details in the form.
Step 3: Fill Out the Form
On the first page of the form, you need to fill in the details. Such as company details: Define what kind of company you have; you will get the drop-down in which you will get the various options like Manufacturer, Brandowner, Importer, Distributor, Stockist, Wholesaler, Trader, Dealer, MSME, Retailer.
-
Followed by: Brand Name
-
Company Name
-
Contact Person Name
-
Contact Person Number
-
Company Email ID
-
GST Details
-
PAN Details
Step 4: Select Your Top Product Categories
On the second page, you will find an option to select from the top categories in which you sell, with a maximum of 3 categories, such as:
-
Baby Care
-
Beauty and Grooming
-
Biscuits and Cakes
-
Cereals and Breakfast
-
Chocolates
-
Clothing
-
Cold Drinks and Juices
-
Dairy, Bread and Eggs
-
Dry Fruits and Nuts
-
Electronics and Appliances
-
Fruits and Vegetables
-
Home and Kitchen Needs
-
Ice Cream and Indian Sweets
-
Instant Food and Frozen Food
-
Munchies and Snacks
-
Pet Supplies
-
Sports and Fitness
-
Toys
-
Vehicle Care and Accessories
-
Atta, Rice And Dals
Step 5: Provide Your Existing Online Platforms
Swiggy's onboarding form also asks where your products are currently listed online.
The available options include:
-
Amazon
-
Blinkit
-
Flipkart
-
Zepto
-
BigBasket
This section helps provide context about your existing online presence and distribution.
If your products are already available on multiple platforms, select the relevant platforms rather than leaving out your existing channels.
Step 6 : Provide Your Annual Turnover
You then need to select your annual turnover across channels. The form provides these ranges:
|
Annual Turnover |
Form Option |
|
Up to ₹20 lakh |
0 - 20 Lakh |
|
₹20 - 40 lakh |
20 - 40 Lakh |
|
₹50 lakh - ₹1 crore |
50 Lakh - 1 Cr |
|
₹1 - 2 crore |
1 Cr - 2 Cr |
|
Above ₹2 crore |
2 Cr & Above |
Select the range that accurately reflects your business turnover across channels.
Step 7: Share Your Top 3 SKUs
The form asks you to provide the top three SKUs driving your business and share links for them.
Ideally, provide products that:
-
Already generate strong sales
-
Represent your core product range
-
Have a clear product listing
-
Have complete product information
-
Are relevant to the categories you selected
If these products are already listed on Amazon, Blinkit, Flipkart, Zepto, BigBasket, or another online platform, use the relevant product links.
Step 8: Select the Number of SKUs You Want to Onboard
The form then asks how many SKUs you want to onboard.
The available options shown are:
-
Up to 4 SKUs
-
Up to 15 SKUs
Choose the option that matches your intended launch assortment.
Step 9: Understand the Initial Brand Onboarding Plan
The form specifies the following initial onboarding terms:
|
Onboarding Element |
Initial Plan |
|
Listing Cost |
₹30,000 + GST per SKU |
|
Cost Breakdown |
₹25,000 Ads + ₹5,000 City Coverage |
|
Initial City Coverage |
30% - 40% of city areas |
|
Maximum SKUs |
Up to 15 |
|
Launch Cities |
1 city |
|
Launch City |
Bangalore |
|
First Purchase Order |
Approximately 50 units per SKU* |
|
Performance Cycle |
30 days |
*The form notes that the first purchase order can differ depending on the category and average selling price of the products.
Step 10: Meet the 30-Day Performance Requirements
After going live, each SKU enters a 30-day performance cycle.
According to the onboarding form, each SKU is expected to sell a defined number of units within 30 days of its go-live date. The specific performance criteria are to be discussed further with the Swiggy team.
This means getting listed is only the beginning. Brands should also be prepared to maintain stock availability and meet the expected sales performance after launch.
Step 11: Submit the Application for Review
After submitting all your documents and information related to your product, all you have to do is wait. The Swiggy team will reach out to you to provide you with further information. They will also help you to complete the onboarding process.
Step 12: Wait for the Screening Window
The Swiggy onboarding team will go through your details and review your profile as well as your product. Within 7-10 days, they will reach out to you to complete the application. While they review your details, here are a few things you can do:
-
Keep checking your registered email inbox regularly.
-
Go through your spam and promotional folders as well.
-
Make sure you have all the details related to your business ready with you in case it needed.
Step 13. Connect with Your Category Manager
If your product range fits Instamart's category requirements, you'll be assigned a Category Manager (CM) who becomes your primary onboarding contact.
The discussion typically includes:
-
Product assortment and category fit
-
Commercial margins and commissions
-
Promotional or launch spends
-
Supply capability and inventory planning
-
Target cities and dark-store strategy
Once both parties agree on the commercial terms, you'll digitally sign the Master Service Agreement (MSA) to formalise the partnership.
Step 14. Complete the Brand Onboarding Portal
After commercial approval, you'll receive login credentials for Swiggy's Partner Portal or Vendor Management System.
This stage focuses on verifying your product catalogue, including:
-
Product descriptions
-
MRP and selling price
-
GS1 EAN/UPC barcodes
-
SKU information
-
Product images and specifications
Accurate catalogue information is essential because it directly affects inventory management and customer-facing listings.
Step 15. Dispatch Your Initial Inventory to Dark Stores
Once your catalogue is approved, the Category Manager allocates the dark stores (pods) where your products will be stocked.
You'll need to:
-
Schedule deliveries to the assigned locations.
-
Follow Swiggy's packaging and labelling guidelines.
-
Ensure products meet expiry-date and quality requirements.
-
Deliver the initial inventory batch for warehouse inwarding.
After the warehouse team scans your inventory into the system, your products become available to customers within the mapped service areas.
How Long Does Swiggy Instamart Seller Approval Take?
The time required to get approved can vary depending on your category, product portfolio, documentation, and the current requirements of the Instamart team.
Based on the onboarding process, the initial screening response can take around 7 - 10 business days after submitting the New Brand Onboarding form.
After that, the timeline can extend depending on the next stages, including category evaluation, commercial discussions, catalogue verification, and inventory onboarding.
|
Onboarding Stage |
Expected Timeline |
|
Application screening |
7 - 10 business days |
|
Category Manager discussion |
Depends on category and review |
|
Commercial discussions & agreement |
Depends on negotiations |
|
Catalogue verification |
Depends on SKU information and corrections |
|
Initial inventory allocation & inwarding |
Depends on assigned locations and stock readiness |
|
Go-live |
After onboarding and inventory requirements are completed |
What Can Delay Approval?
Several factors can make the process take longer, such as:
-
Missing or inconsistent GST, PAN, or category-specific documents
-
Incomplete product information
-
Incorrect or unavailable EAN/UPC barcodes
-
Products that do not fit current category requirements
-
Additional clarification required by the Category Manager
-
Delays in agreeing on commercial terms
-
Inability to arrange the initial inventory on time
Swiggy Instamart Vendor Onboarding: Commission & Costs
Before proceeding with onboarding, brands should understand the commercial investment involved. The New Brand Onboarding form currently specifies a listing cost of ₹30,000 + GST per SKU for the initial launch.
This amount is divided into two components:
|
Cost Component |
Amount per SKU |
|
Ads |
₹25,000 |
|
City Coverage |
₹5,000 |
|
Total Listing Cost |
₹30,000 + GST |
What Does the City Coverage Cost Include?
The onboarding plan states that your products will initially be visible across approximately 30% to 40% of the city areas.
The initial launch is limited to one city, with Bangalore specified as the launch city in the form.
This means brands should factor in the initial geographic coverage when planning their launch and inventory requirements.
How Many SKUs Can You Onboard?
The onboarding plan allows brands to onboard up to 15 SKUs. However, the application form also provides options for businesses that want to start with a smaller assortment:
-
Up to 4 SKUs
-
Up to 15 SKUs
The cost is specified per SKU, so your initial investment will depend on how many products you choose to onboard.
For example, at the stated listing cost, onboarding 4 SKUs would mean a base listing cost of ₹1,20,000 + GST, while 15 SKUs would amount to ₹4,50,000 + GST, before considering any other commercial expenses that may apply.
What About Commission and Promotional Costs?
Commission, margins, and promotional spends are separate commercial considerations that should be discussed with the Category Manager during onboarding.
The exact commercial terms can depend on your category, products, pricing, and the agreement reached with Swiggy. Therefore, sellers should confirm the applicable commission structure and any additional promotional requirements directly with the onboarding team rather than assuming a fixed rate.
Consider Your Logistics Costs Too
The initial listing investment is only one part of your cost of selling through quick commerce. You also need to account for the cost of moving inventory to designated dark stores and maintaining regular replenishment.
For brands managing multiple deliveries, comparing transportation costs and choosing the right vehicle for each shipment can help control ongoing fulfilment expenses. You can explore reduce logistics costs to understand ways to optimise these expenses.
Common Reasons Swiggy Instamart Seller Applications Get Rejected
Your application may face delays or rejection because of:
-
Incorrect business details – GST, PAN, company name, or address does not match.
-
Poor category fit – Your products may not match Instamart's current category requirements.
-
Incomplete product details – Missing SKU information, product links, images, or specifications.
-
Missing compliance documents – Required licences or certifications are not provided.
-
Barcode issues – EAN/UPC barcodes are missing, incorrect, or not valid.
-
Limited inventory – You may not have enough stock or the ability to replenish products regularly.
-
Commercial terms – The proposed margins, promotional spends, or other terms may not work for the brand.
-
Weak product performance – Your top SKUs may not provide enough evidence of existing demand or sales.
Tips to Increase Your Chances of Getting Approved
You can improve your chances of a smooth Swiggy Instamart onboarding process by keeping the following points in mind:
-
Keep all required documents ready before applying.
-
Make sure your GST and PAN details are correct.
-
Select the categories that best match your products.
-
Share links to your best-selling SKUs.
-
Keep your product information accurate and updated.
-
Make sure your EAN/UPC barcodes are correct.
-
Mention all the platforms where your products are already listed.
-
Keep enough inventory ready for the initial purchase order.
-
Check your email regularly after submitting the form.
-
Respond quickly if the Swiggy team asks for more information.
-
Understand the commercial terms before confirming your onboarding.
-
Plan your inventory and replenishment in advance.
Once You're Approved: Getting Your Inventory to Swiggy Instamart Dark Stores
After your products are approved and the onboarding formalities are completed, the next step is getting your inventory to the assigned dark stores.
-
Swiggy will assign the dark stores (pods) where your products need to be stocked.
-
Plan your first inventory shipment according to the purchase order received.
-
Pack and label your products according to the required guidelines.
-
Check product quality and expiry dates before dispatch.
-
Schedule deliveries to the designated dark-store locations.
-
Make sure the required quantity reaches the assigned locations on time.
-
Track your shipments and maintain records of delivered inventory.
-
Monitor stock levels regularly so that you can replenish products before they run out.
-
For regular deliveries across multiple locations, using an online truck booking service can help you arrange suitable vehicles for moving inventory.
Conclusion
Registering as a Swiggy Instamart seller involves more than simply submitting a form. Brands need to provide accurate company details, meet category and compliance requirements, share their top-performing SKUs, and be prepared for the commercial and onboarding stages that follow.
The current New Brand Onboarding process starts with submitting your business and portfolio details. If your brand passes the initial screening, you may then move through Category Manager discussions, commercial negotiations, catalogue verification, and dark-store inventory allocation.
The initial launch plan currently covers one city, Bangalore, with up to 15 SKUs, along with a stated listing cost of ₹30,000 + GST per SKU. Brands should also be prepared for the 30-day performance cycle and ongoing inventory replenishment.
If you're planning to sell on Swiggy Instamart, preparing your documents, product information, inventory, and logistics plan in advance can make the onboarding process much easier.
FAQs About Swiggy Instamart Seller Registration
1. Can a wholesaler sell on Swiggy Instamart?
Yes, wholesalers can apply if their products fit the relevant categories and they can meet the required business, compliance, and supply requirements.
2. Can D2C brands sell on Swiggy Instamart?
Yes, D2C brands can use Instamart as an additional sales channel if their products meet the platform's requirements.
3. How many SKUs can I onboard on Swiggy Instamart?
The onboarding form provides options for up to 4 SKUs or up to 15 SKUs, with the initial plan allowing a maximum of 15 SKUs.
4. Which city is available for the initial launch?
The current onboarding plan specifies Bangalore as the launch city, with one city allowed during the initial launch.
5. How much does Swiggy Instamart onboarding cost?
The current onboarding plan states a listing cost of ₹30,000 + GST per SKU, consisting of ₹25,000 for ads and ₹5,000 for city coverage.
6. How long does Swiggy Instamart take to respond to an application?
The screening stage is expected to take around 7 - 10 business days, although the complete onboarding process can take longer.
7. What happens after my Swiggy Instamart application is submitted?
The application is screened first. If your brand fits the current requirements, the Swiggy team may contact you for category discussions, commercial terms, catalogue verification, and further onboarding.
8. What are the top SKUs required during registration?
The form asks applicants to share their top three SKUs driving their business, along with links to those products.
9. How much initial inventory should I keep ready?
The current onboarding plan mentions an initial purchase order of approximately 50 units per SKU, although this can differ depending on the category and average selling price.
10. Where do I send inventory after getting approved?
Your Category Manager can assign specific dark stores or pods where your products need to be delivered and stocked.
11. How can I manage regular inventory deliveries to Instamart dark stores?
Brands supplying multiple locations may need regular transportation and replenishment. An online truck booking app can help you arrange vehicles for moving inventory to different fulfilment locations.
12. Can I sell on Swiggy Instamart along with Amazon and other marketplaces?
Yes. Brands can maintain their presence across multiple sales channels, provided they can manage inventory and fulfilment requirements effectively.